Consulting, Microsoft Dynamics AX
How to Speed up Report Writing in Dynamics AX SSRS with the Duplicate Report Trick Part 2A
 13231
13231 
Jun
Rapid Report development with Dynamics AX SSRS is all about minimizing the amount of code that you have to write. Remember this tactic: find an existing report in AX that contains data that is similar to what your users want, then duplicate it, and modify the duplicate to suit your needs. If you take the expense of duplicating reports in AX upfront, you will save drastic amounts of reporting time later.
And as you will see – changing the look of a report is not that hard.
Now, here is a checklist for duplicating reports
| Type of Item | How to do it |
| The Report RDL File | XPO Import/Export Trick, notepad find/replace |
| Query (if applicable) | Right-click in MorphX and hit duplicate, then rename |
| Temp Tables | Right-click in MorphX and hit duplicate, then rename |
| X++ Classes | XPO Import/Export Trick, notepad find/replace, manual verification |
| .NET project Dll’s | Add references to the DLL’s |
| Menu items | Righ-click in MorphX and hit duplicate than rename, change classes in properties |
In Part 2A, let’s start by using the RDL Import/Export trick, notepad find/replace tactic:
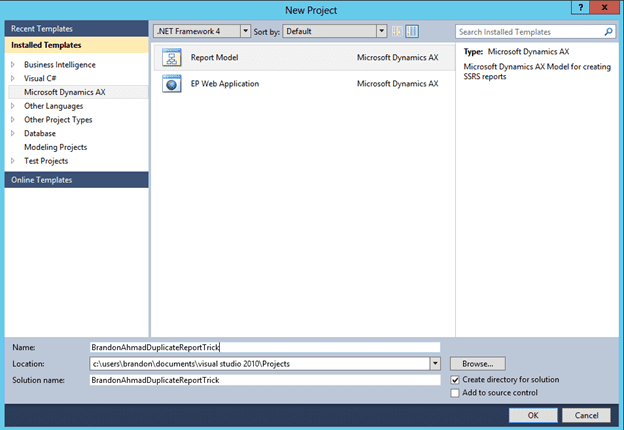
- Open up Visual Studio 2010
- Click File à New à Project
-
Choose ReportModel and give it any name you want than click OK.
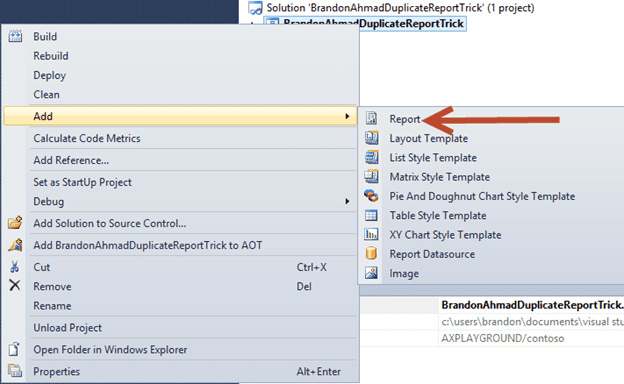
-
Choose the “Add” option and choose Report.
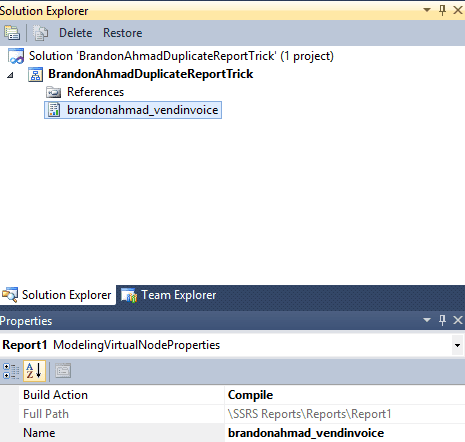
-
Now rename your report. One way to do this is to go to the properties pane and change the name. Another way to just right-click on the report and choose rename. Very important: give it some small name followed by an “_”, followed by the original report name. In this case, I’m naming it brandonahmad_VendInvoice. Remember, keep the _vendinvoice part. It will become abundantly clear why this helps later.
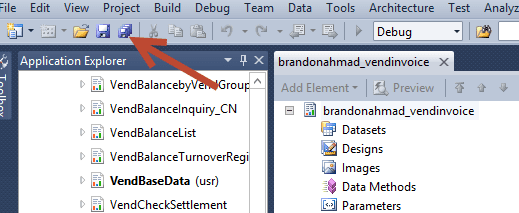
-
Now, save your report project
-
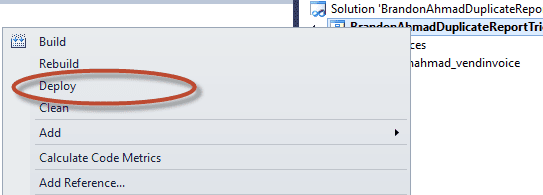
Now, right-click on it and click Build, followed by Deploy
-
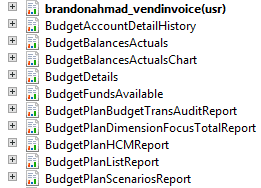
Now, open up the Dynamics AX client and go to the development screen. Expand SSRS Reports à Reports and find the brandonahmad_vendinvoice report (or whatever you called it).
-
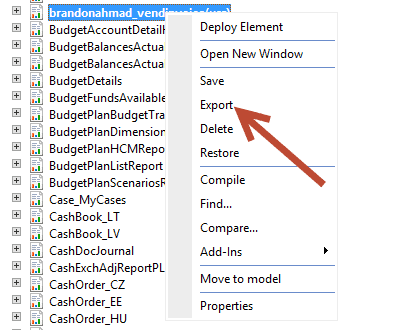
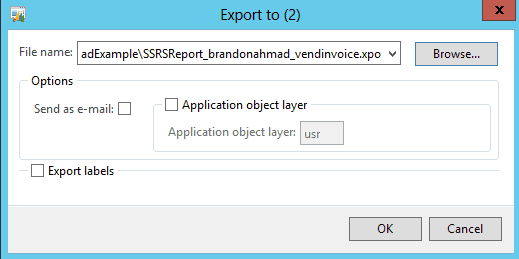
Right-click on the picture and click Export.
-
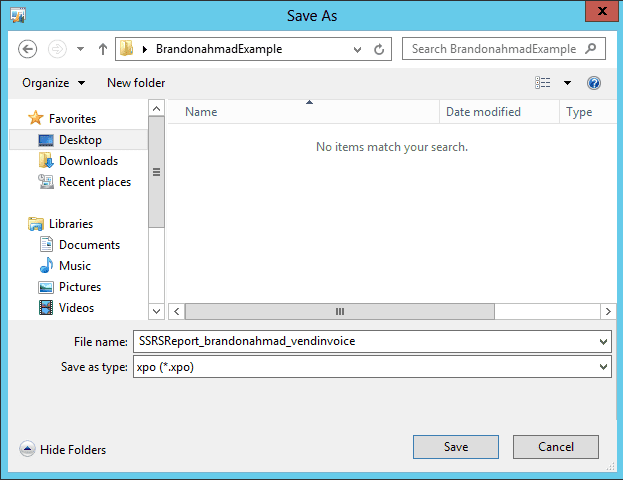
Export it to some location that you can remember and click Save on the dialog box. Make sure that click “OK” at the next screen.
-
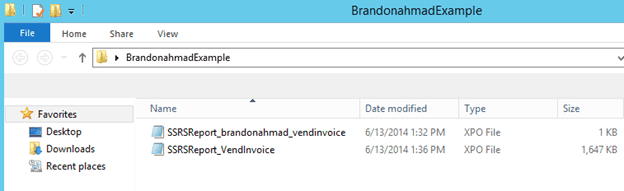
Repeat the exact same procedure as above for exporting the VendInvoice report. When all is said and done, you should have a report folder that looks like this with two exported reports.
-
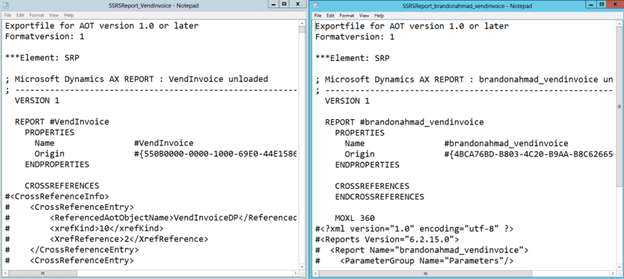
Now, there is even more. I didn’t say it was easy to duplicate reports! But remember, it will save you a lot of time overall. Open up each of the reports in Notepad, kind of like in this side by side “dealy” like the picture below.
-
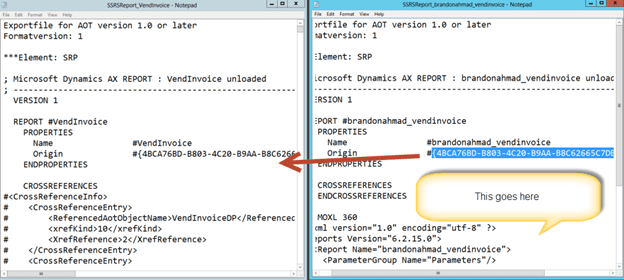
For the report with the XPO based on the original, titled SSRSReport_VendInvoice in the picture above, delete it’s Origin and replace it with whatever Origin was in your blank SSRS report.
-
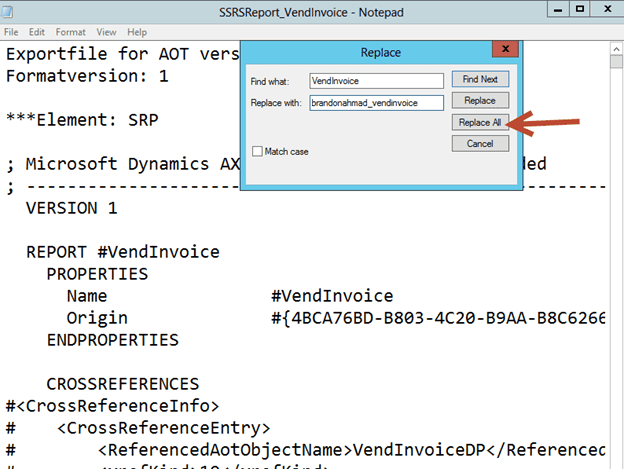
Now, remember when I said that it is really good to use the _ naming sequence. Here is why. Most of the temp tables and queries are named closely with their reports. Using an original name with a beginning underscore makes it really easy to replace the table. Click Edit à Replace. Here, let’s replace VendInvoice with brandonahmad_vendinvoice. After it finishes, save your notepad file and close it. You can save both of them if you like, but we will only be using the one with the replace all(despite the name of the file not changing, it will overwrite the blank duplicate report with the original report data). Note: the only that you need to manually change here if you follow the way that I showed you, and that is only sometimes, is the name of the temp table. Sometimes, the temp tables break the convention, forcing us to do more, but not here.
-
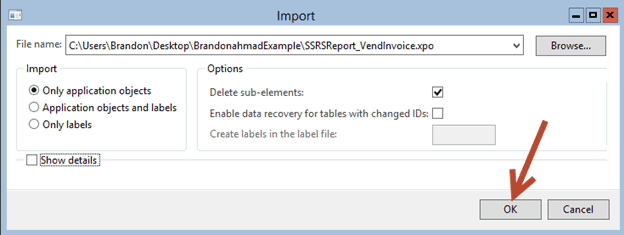
Open the client up again. Click Command à Import

-
Browse to the location where you saved the file and click OK.
-
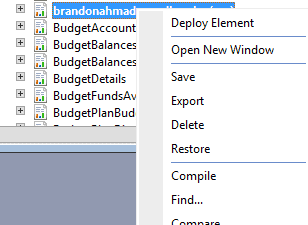
Right-click on your newly imported version of the report. Click on Compile followed by Deploy Element.
Done.. You’ve just partially duplicated the report, but it will generate errors if you bring it up now because we haven’t done the other steps referenced in the table above. We will continue in Part 2B.
Please hang with me!! I promise that it will be worth your while to do this tutorial, not just for your own development, but for what you will be able to deliver to your company at the end of these tutorials.

