Consulting, Microsoft Dynamics AX
Dynamics AX AIF Tutorial Series Part 3: AIF, Document Services, and a SharePoint InfoPath Forms step by step for Power Users Part E
 14265
14265 
Jul
Now, you get to learn a very rare secret on how to get full SharePoint and ease of use functionality out of Dynamics AX with business connectivity services. What I am going to show you first is the problem that usually stops people from being able to fully integrate SharePoint with the Dynamics line of products fully; thus, requiring Enterprise Portal only. Yes, this little problem with business connectivity services is actually present in Dynamics CRM, NAV, and AX. Then, I’m going to show you how to fix it. Please understand that this is not in any documentation that you will find online as of the date that I am publishing this post. This is simply from my experience. Enterprise Portal is great, but sometimes we need to fully experience the benefits of having SharePoint Designer integrated into Dynamics AX. See many of our users are masters of the office line of products: Word, Excel, and Infopath. What if we could fully leverage their skills to enhance our Dynamics AX implementations? What if we could use SharePoint workflows written in designer to complement our Dynamics AX functionality?
A good developer finds ways to take an existing skillset and heavily leverage it into the product. This is what it means to increase productivity. Let’s do that here by seeing the error that usually causes people to give up on doing this! It’s painful but absolutely necessary to understand how to fix the issue.
This tutorial assumes that you are using the Sample Dynamics Image available on PartnerSource for Download
-
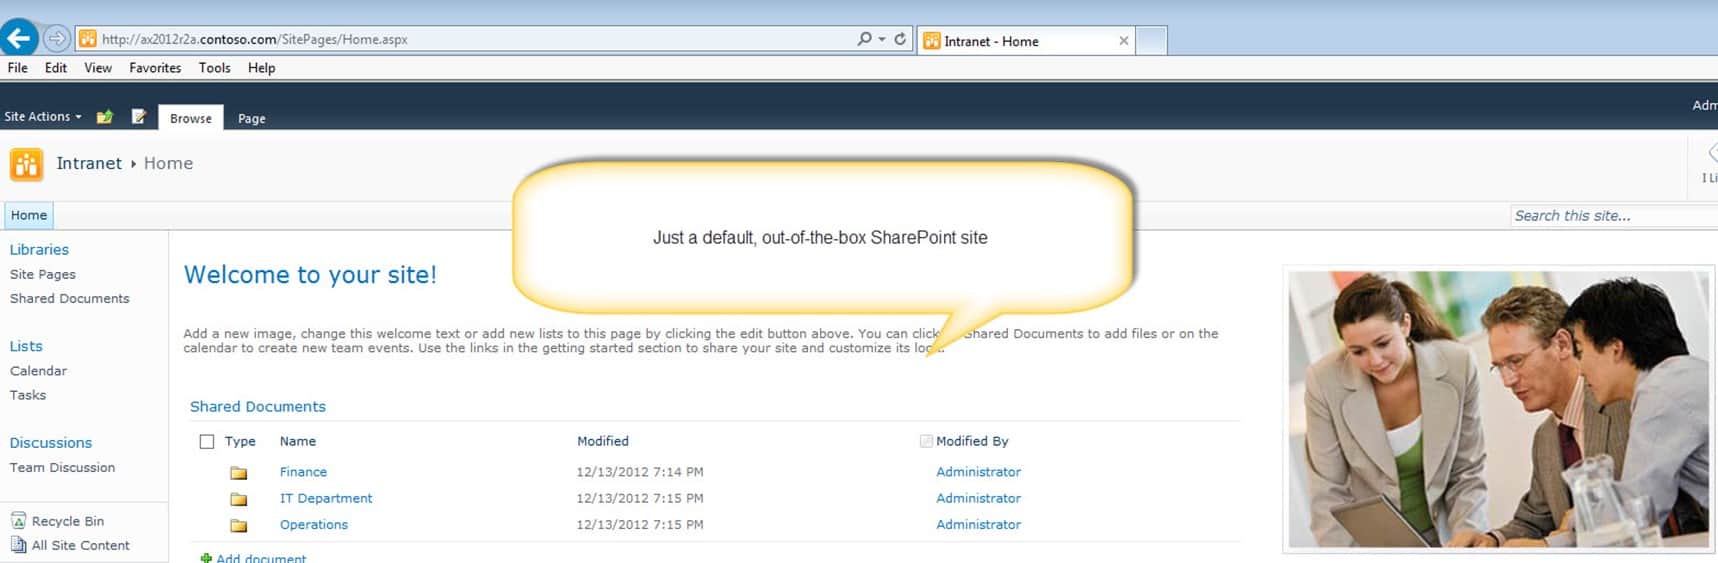
Open up your browser, and go to a regular SharePoint site at http://ax2012r2a.contoso.com/SitePages/Home.aspx. This is just a link for a plain old SharePoint team site. Note the Dynamics AX 2012R2 is running in SharePoint compatibility mode so it still has the 2010 interface and look.
-
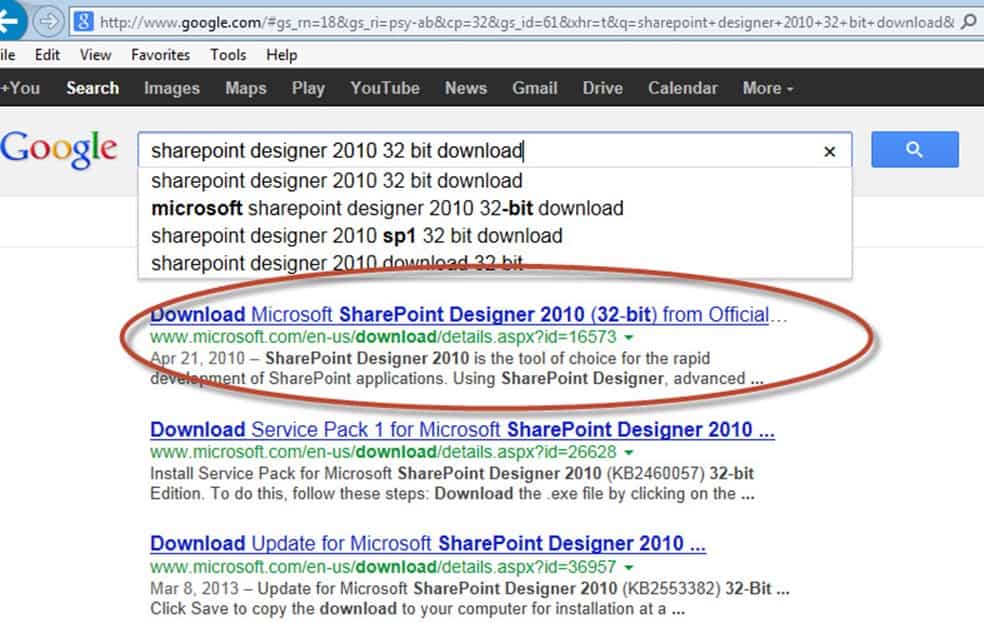
Now, first we need to get the 32-bit version of SharePoint Designer for SharePoint 2010. Truthfully, I’d rather use SharePoint 2013 designer. It is so much more powerful. BAut we are stuck here with the limitations of our virtual machine. Make sure you follow the links and download it. Here I just did a google search to find SharePoint Designer 2010. Then, I downloaded and installed it as I continued to click next to get it on my machine. Also note: SharePoint designer does not have to be on the main server to work. It can work from anywhere in your network or even outside of it depending on how SharePoint is setup. There are plenty of walkthroughs that can be found online that cover how to install SharePoint designer if you need any help.
-
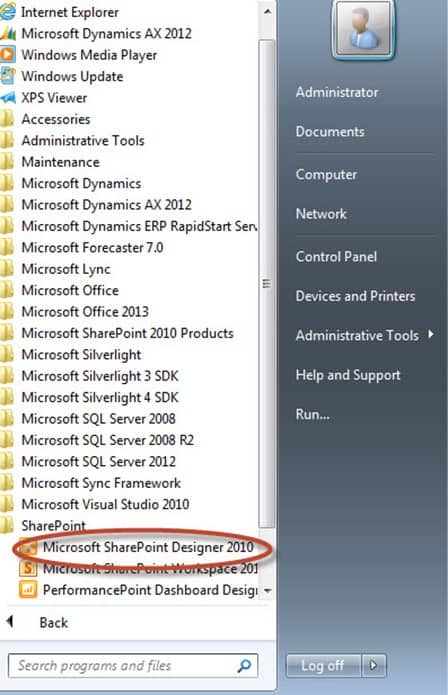
Click Start, All Programs, Sharepoint, and click on Microsoft SharePoint Designer 2010
-
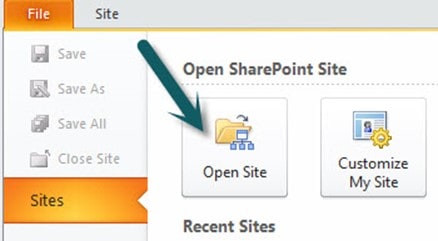
Click the Open Site button. Note: this is one of a million ways to connect to a SharePoint site. We will use the SharePoint site to store all of our information.
-
Enter http://ax2012r2a.constoso.com
into the Site name and press Open. Depending on your SharePoint settings at work, it may ask you for a login. If so, enter a windows account that has permissions to login to use the SharePoint site and do Dynamics AX operations.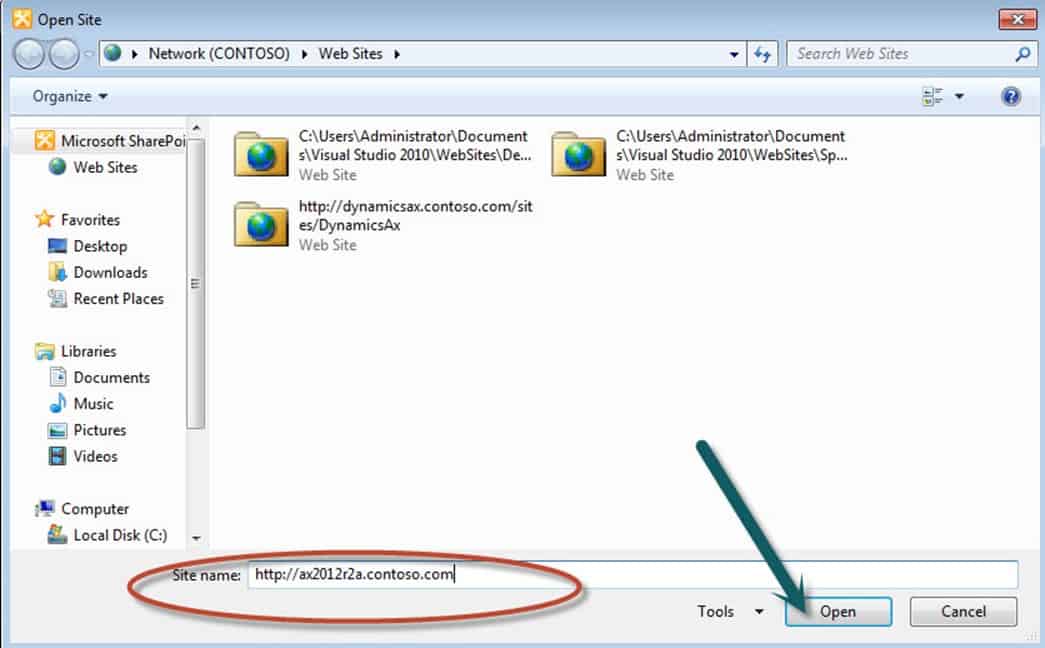
-
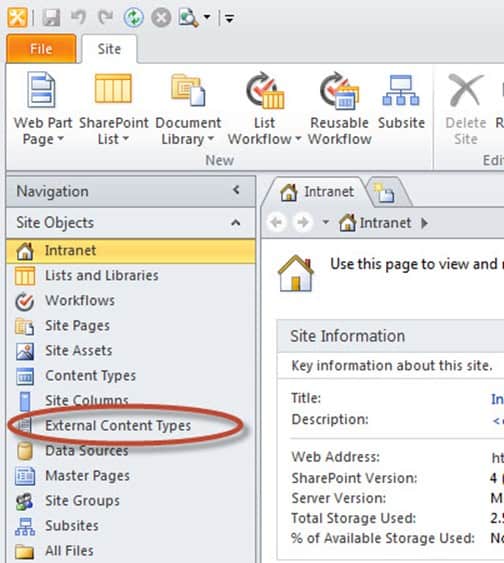
Now, click on the External Content Types panel on the left Navigation bar. People often over think the term “External Content Type.” It just means that you want to bring in data from somewhere outside of SharePoint and allow the SharePoint interface to help you manage it. It really is just external content. Content stored in internal sharepoint databases is known as internal content or just “content type”. With External Content Types, SharePoint has all kinds of bells and whistles to really make it easy to communicate with the external content.
-
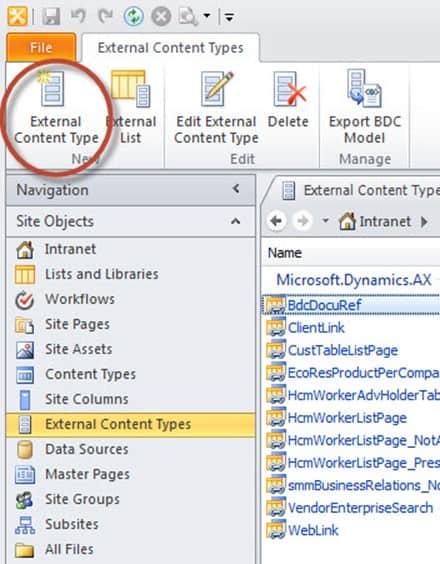
Now, hit the External Content Type button to tell SharePoint that we are about to bring in some External Content.
-
Now, we need to change 2 settings. Note, for these settings, you can pick whatever you like. However, just as we have done previously, it is a good idea to remain consistent. So, click on the blue link next to Name and DisplayName, and make them look like the picture. Both of these values will say DynamicsAXCustomerData. Click on the link Click here to discover external data sources and define operations when you are all finished. This is where we will add our connection to Dynamics AX.
-
Next, click on the Add Connection button as this is how we will consume (get the data and communicate with our service) our service using a built-in Wizard.

-
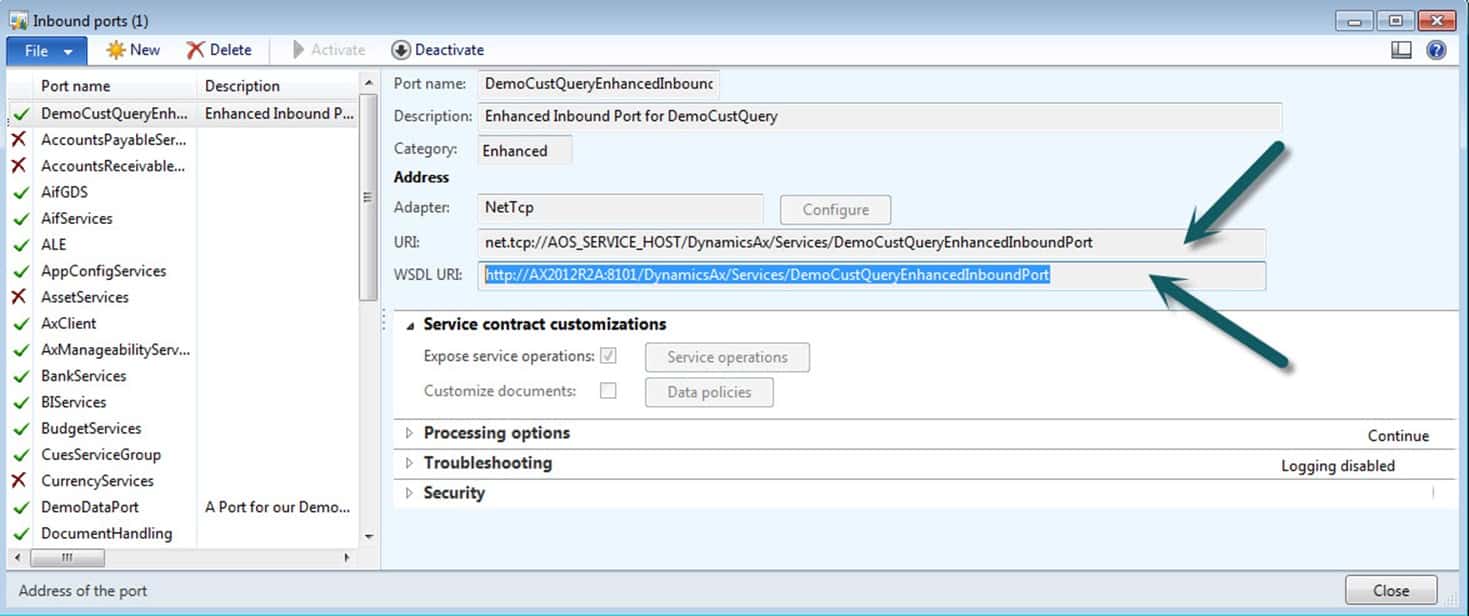
When the little pop-up occurs, choose WCF Service and hit the OK button. This will bring up the WCF connection string (shown in next step). Now, in the screenshot below, recall our inbound ports screen. It contains two values that we will need to make this work. Both of them are highlighted with the arrows. We will need take the URI field and place it in the Service EndPoint URL. Make sure that you take note of the two values with the arrows. We’ll need to copy and paste those in the little WCF Connection Window in the next step.
-
The Service Metadata URL is actually the equivalent of the WSDL URI for the enhanced port. It tells Sharepoint or any other program how to interact with the service to get data. The URI represents the actual address that the service uses to exchange data and it correlates to the Service Endpoint URL. So, think of one link(meta) as teaching someone(sharepoint how to interact with the data) how to fish and the other link as actually doing the fishing. Put the corresponding URI’s into the proper fields. Notice that there is also a value called Connect with User’s Identity. This tells SharePoint to use the login of the person connected. So, this means that person cannot access the data if they don’t have permissions within Dynamics AX —- SWEET!!!!!!!! Not!!!!!
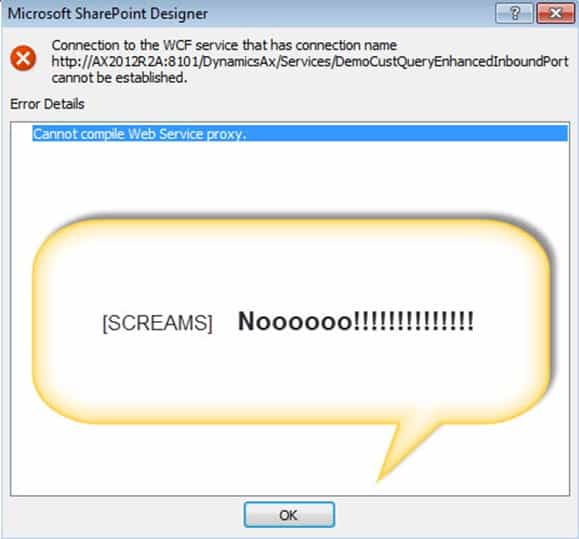
Oh no, the same problem that has plagued the other suite of Dynamics products is also there with Dynamics AX. The cannot compile Web Service proxy has been around forever. Business Connectivity Services does not know how to interpret the data and can’t communicate with the Dynamics AX Port. This means that we will only be able to use Enterprise Portal and not be able to reap the true benefits of SharePoint as only developers implemented solutions will work.
NO WAY!!! We need them both. We need Enterprise Portal for some great built-in features and full SharePoint functionality so that we can truly provide the user friendly, non-properietary interface that the Sharepoint product was meant to serve as. Otherwise, Brandon won’t have anything to show everyone for future demos. J
Okay, that is the subject of our next post. Unfortunately, I must take the next two weeks off blogging Dynamics AX as I have promised to make some videos and a blog post on another topic. After that, work will eat up every bit of spare time that I have… That, being said, I will preview the fix here for those of you who may need it sooner.
High level fix it steps until next Dynamics Ax blog post, Part 3E
-
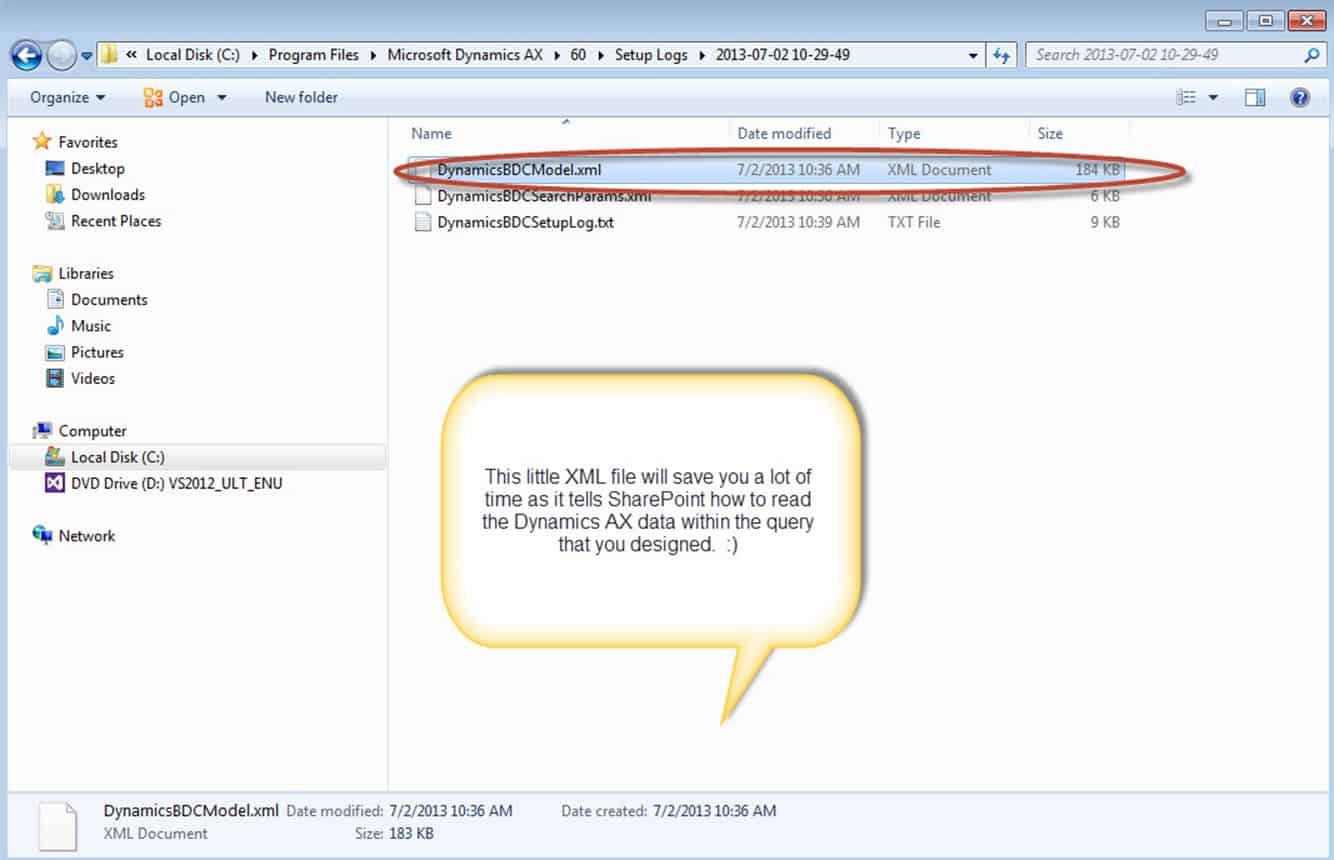
Utilize a little known feature where Dynamics AX will generate Business Connectivity Models for SharePoint to use. All you have to do is copy and paste the autogenerated model into a SharePoint Dev project. Go to your Query, go to the properties screen, and change the searchable property to yes. This will allow you to publish the query to SharePoint. Now, go to System Administration..Setup..Search Configuration.

-
You will get an XML model file that you will come to love with all of your heart as it will save you a lot of time and will provide for some great copy and paste action.
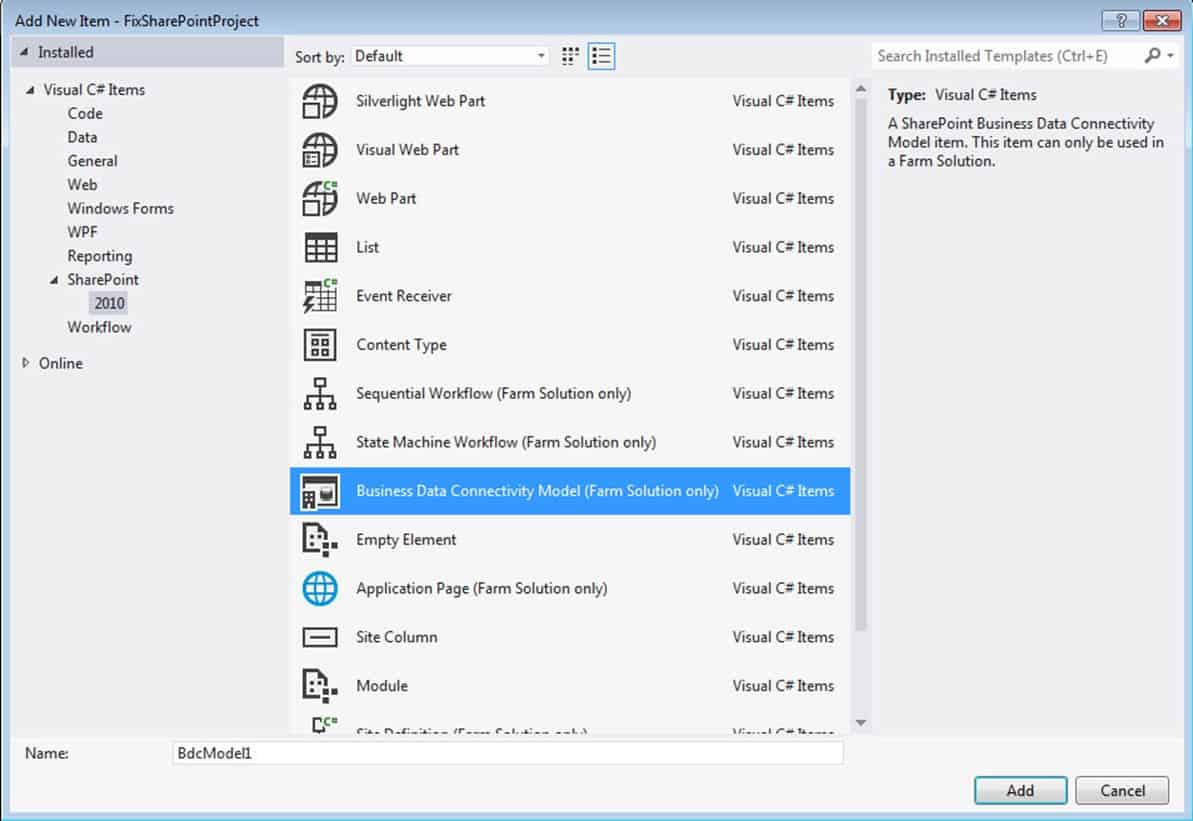
- Now, open up visual studio. Unfortunately, the version of visual studio on our sample demo machine doesn’t have the sharepoint developer tools installed. I just installed a trial version of visual studio 2012 on the machine (could have used 2010 also). Create a new empty sharepoint project and add a Business Data Connectivity Model item to it. You will need to use your copy and pasted model here to replace the existing one so that you save lots of time.
-
-
And watch magic happen now. Click on references and add a service reference. Put in the metadata URL and watch the connection work to the aif service.
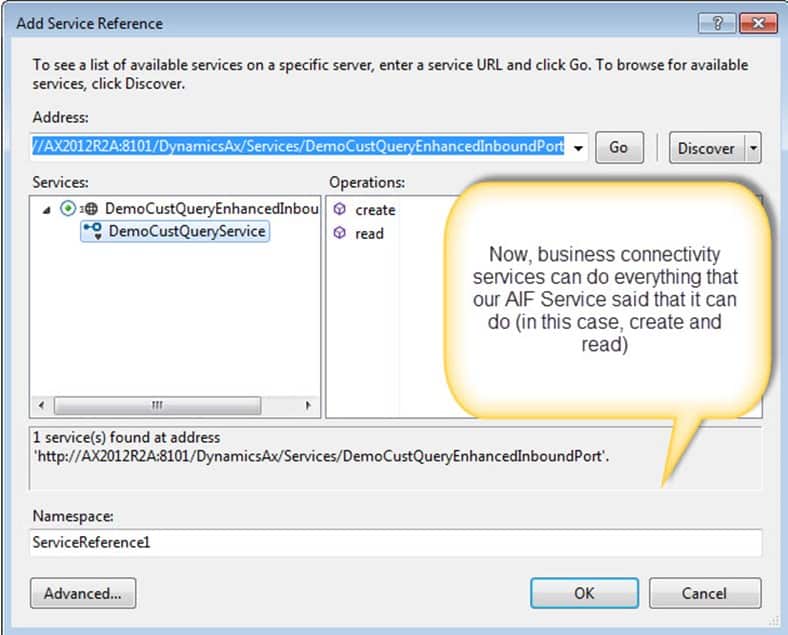
After a few simple steps of copying and pasting you will be done. Your users will be able to connect to the external content type through SharePoint Designer and use actual SharePoint workflows and a host of other goodies once you set this up for them with minimal coding (lots of copying and pasting). Remember that this preview was just for those who are in an emergency situation where there users want to start utilizing the full benefits of a combined SharePoint-Dynamics AX solution NOOOOWWWW..
For everyone else.. I’ll go back to blogging about Dynamics AX after a few weeks. Promise!!! Remember, the best things come to those who wait. J
(For our .NET developers: I will finally be writing the MVC 4.0 super grid post that I’ve been promising next).
