Source Control Processes
Finance and operations uses Azure DevOps for source control, which is accessible through a web browser or Visual Studio by using the Team Explorer.
Azure DevOps, formerly Visual Studio Team Services
Azure DevOps is a cloud-based offering, which is also backed by a 99.9 percent service level agreement (SLA). While the core services are the same between cloud and on-premises, cloud also offers immediate access to new features, improved connectivity to remote locations, and simplified server management.
To enable source control through Azure DevOps, you will need to go to https://visualstudio.microsoft.com/ and sign up for Azure DevOps to create your account. When you create your account, you will select a URL for it. This will be the URL that you will connect to from your development computer when you configure source control. When your account is created, or if you already have an account, create a new project.
To configure your Visual Studio environment to connect to your team project, follow these steps:
- Open Visual Studio as an administrator.
- Open the Solution explorer if it is not already displaying by selecting File > Solution explorer.
- Select the Team explorer tab at the bottom of the window.
- Select Manage connections.
- Select Connect to team project.
- Select Servers….
- In the Add/Remove Team Foundation Server window, select Add.
- You will need to paste the URL for your Azure DevOps project in the Name or URL of Team Foundation Server field.
- Select OK.
- Select Close.
- On the Connect to Team Foundation Server window, use the dropdown to select the project you just added.
- Select Connect.
When you are connected to the Team Foundation Server, you will need to map your Azure DevOps project to your local model store and projects folders.
- Open the Source Control Explorer from Team Explorer.
- Map the Metadata folder of your team project to the root folder of the model store on your local drive.
- Select Map.
- On the next dialog, select No.
- Repeat these steps for the Projects folder as well.
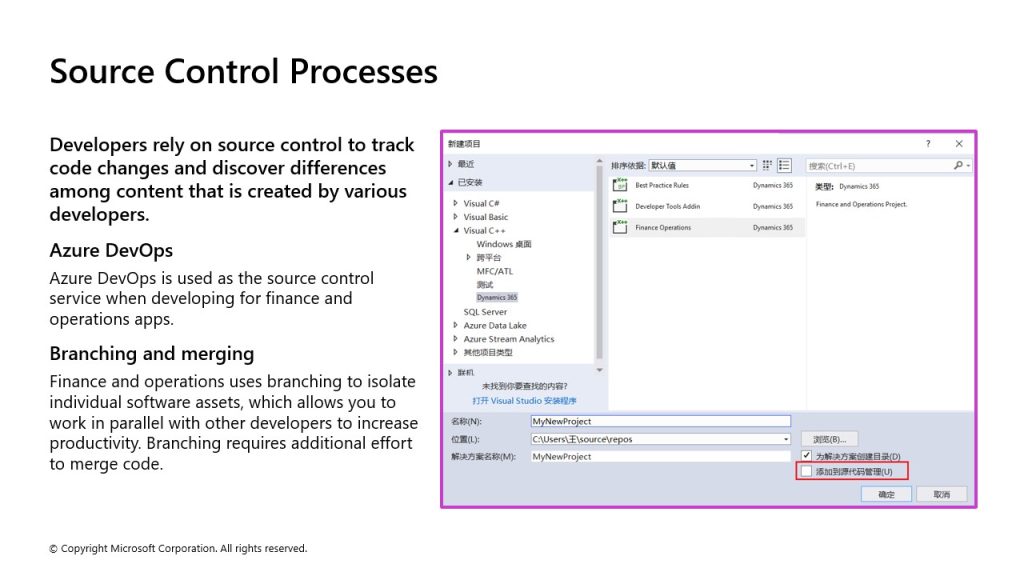
When creating a new Visual Studio project, you can add the project to source control. Source control enables version control on elements in Visual Studio. Version control forces you to check code out while developers are making changes to code.
When you have finished making your changes, you must check in your changes. Each check-in creates a new version of that element. This process allows other developers to see who made changes, what changes were made to an element, and when the changes were made. It also allows you to revert code to a previous version if errors are found in the current version. When you check in code, other developers can also then perform Get latest to merge all the latest available versions of the code.
When you perform a Get latest, you might come across some change conflicts, where a new version of code conflicts with what you have currently built in your code base. You can view and resolve conflict in Visual Studio on the Resolve conflicts page.
Three panes are available on the Resolve conflicts page:
- Left pane – Shows your current code
- Right pane – Displays the new code
- Bottom pane – Displays what the automatic merge code will look like
You can select to accept the automatic merge or individually accept which code will be merged or overridden.
Branching and merging
No defined rule exists for how branches are set up, but there is usually a Development, Test, and Production or Release branch.
- A Development branch is used for code that isn’t ready for testing; however, it is shared between developers. Some larger teams might use multiple developer branches.
- The Test branch is used to hold changes that are ready to be tested by other users.
- The Production branch will hold all the source code exactly as it’s deployed in the production environment.
You must create a deployable package to move code changes from one environment to another. We recommend that you use a build environment to create deployable packages that contain all changes. You can create deployable packages from the development environment.
To deploy a package to a non-production environment or a production environment, you will use Lifecycle Services. The process to deploy the package differs between the two. Also, a deployment to a production environment requires the package to successfully deploy to at least one sandbox environment in the same project.
