Configure Visual Studio to Connect to Azure DevOps
This unit explains how to configure Visual Studio to connect to the Team Foundation Version Control Services in Azure DevOps.
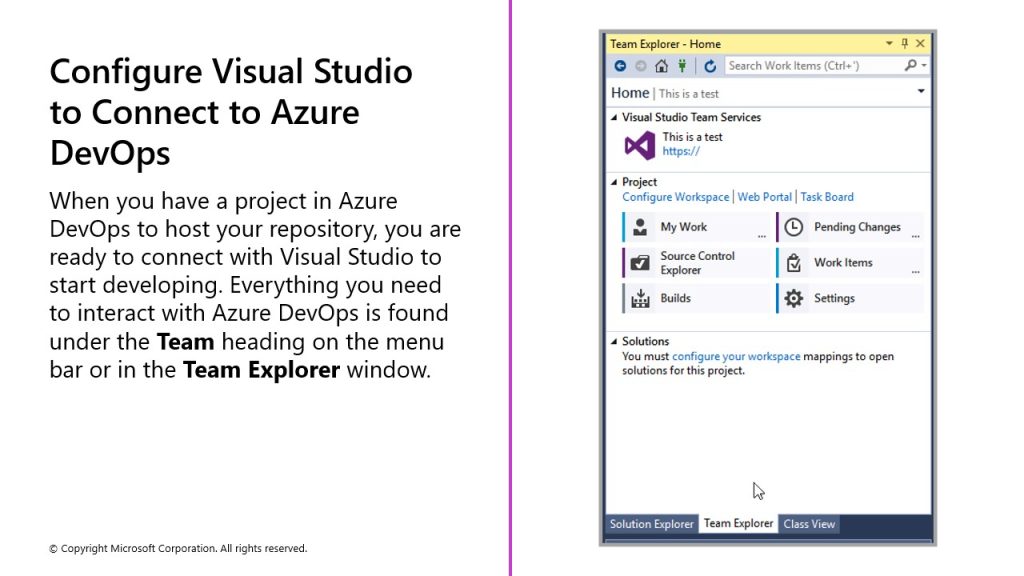
To connect to an Azure DevOps project from Visual Studio, follow these steps:
- Select Manage Connections in the Team Explorer window or under the Team header on the menu bar. This option might appear simply as a green plug icon.
- All the existing project connections from your local machine will be available to select in the window that appears. Right-click and select Connect to make the connection.
- In the window that opens in the Team Explorer window, select Manage Connections.
- Select Connect to Team Project. This will open a new dialog box.
- In the dialog box, select Servers.
- This opens a new dialog box, where you will enter the Azure DevOps URL. If the URL looks like clientname.visualstudio.com, and it usually does, the remaining fields will be automatically populated.
- After you confirm these settings, a new dialog box will prompt you to sign in to Azure DevOps.
- When you have signed in, select the box for the desired Azure DevOps project on the Team Projects pane.
- Select Connect.
- Select Advanced Configuration to open a dialog box for adjusting the parameters of your workspace mapping.
- Select Advanced in this dialog box for more options.
- Change the workspace from a Private workspace to a Public workspace.
- In the Working folders table, remove all existing mappings.
- On a new row of the table, map the Projects folder of the desired branch of your Azure DevOps project to your local user’s Projects folder for Visual Studio.
- On another row in the table, map the Metadata folder of the same branch of your Azure DevOps project to the Packages Local Directory folder of the AOS Service drive.
- Select OK.
- Select Close to exit all open dialog boxes.
