
Design KPIs – Steps
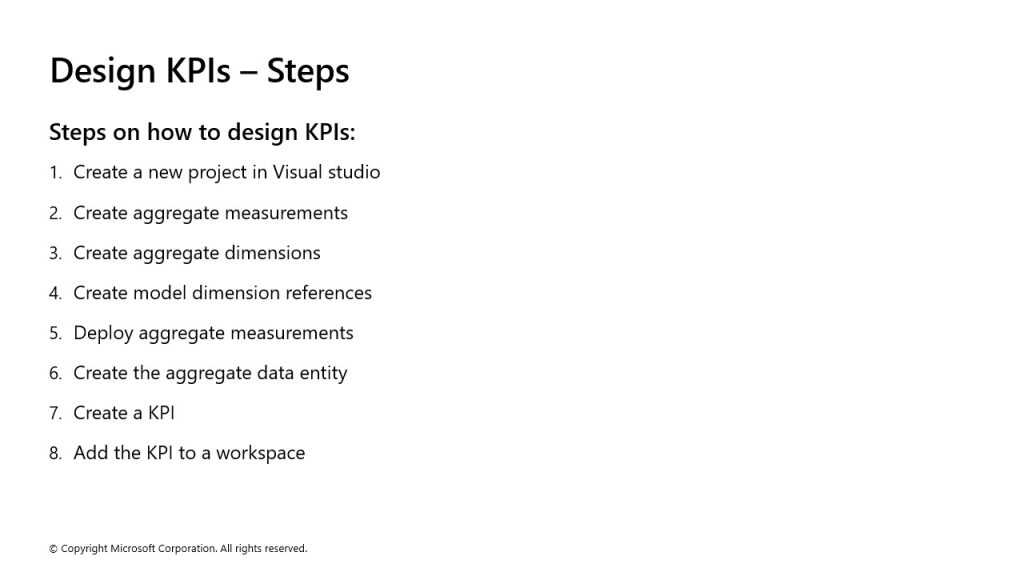
Create a new project in Visual studio
To create a new project in Visual studio, follow these steps:
- Open Visual Studio as an Administrator and under Get started, select Create a new project.
- In the search box, type Finance Operation and select the template for finance and operations project and select Next.
- Name your Project NewKPI and select Create at the bottom of the page. This will create your NewKPI project.
Create aggregate measurements
To create aggregate measurements, follow these steps:
- In the Solution explorer, right-click your project and select Add New > New item.
- Under Dynamics 365 Items select Analytics > Aggregate Measurement.
- Open Application Explorer by going to View > Application Explorer if it does not already show up on your page.
- Go to Data Model > Views and select the FMVehicleExtendedView view to create measurements. Because the project model is Fleet Management the FMVehicleExtendedView view is compatible.
- Drag and drop the FMVehicleExtendedView view in the MeasureGroup1 group for the Aggregate measure.
- In the Dimensions group, right click on Date and select Delete.
- In the Application Explorer, right click the FMVehicleExtendedView and select Open designer. Split the resulting pane alongside the Design pane for your AggregateMeasurement object.
- Drag and drop the Mileage field from the view to the Measures group in your AggregateMeasurement.
- Each measure has a default Aggregate property that you can set:
- Count
- Sum
- AverageOfChildren
- DistinctCount
- Max
- Min
- Save all, and then build the project to see if it compiles correctly. This can be done by right clicking the project and selecting Build.
Create aggregate dimensions
To create aggregate dimensions, follow these steps:
- In the Solution explorer, right-click your project and select Add New > New Item.
- Under Dynamics 365 Items select Analytics > Aggregate Dimension, and then select Add.
- In the Application Explorer, go to Data model > Views and select the **FMVehicleExtendedView ** view to pull measurements.
- Drag the selected item onto the root of the AggregateDimensions object that you’ve created.
- There may be automatically created attributes in the Attributes group of your dimension. Delete these or change the Dimension field property to Model.
- If you don’t have an attribute or didn’t change the Dimension field on the original attribute, drag the Model field from the view into Aggregate dimension > Attributes.
- Save all, and then build the project to see if it compiles correctly. This can be done by right clicking the project and selecting Build.
Create model dimension references
To create model dimension references, follow these steps:
- From the Solution Explorer, drag and drop the Aggregate dimension into the Aggregate measurement’s Dimension node in the middle of the page.
- Right-click the Dimension node and select New Dimension, and rename the new dimension.
- Select the newly created dimension, and then right-click and select New relation.
- Name the new relation and change the Dimension attribute to Model.
- In the child node, set the Related field property to Model.
- Save all and Build.
Deploy aggregate measurements
To deploy aggregate measurements, follow these steps:
- Select the aggregate measurement.
- Set the Usage property in Properties:
- InMemoryRealTime
- StagedEntityStore
- Right-click the aggregate measurement in the Solution Explorer, and select Add Column Store Indices.
Create the aggregate data entity
To create the aggregate data entity, follow these steps:
- In the Solution explorer, right-click your project and select Add new > New item.
- Under Dynamics 365 items select Analytics > Aggregate Data Entity.
- Select Add.
- Drag and drop the aggregate measure from the Solution Explorer to the data source of the aggregate data entity shown on the Designer Window.
- In the data source, expand the DataSource, expand the Aggregate data measurement, expand the measure group (Mileage), and Measures, and then drag Mileage into Fields.
- In the data source, expand the DataSource, expand the Aggregate data measurement, Expand the measure group (Mileage), and Dimensions, then drag AggregateDimension into Fields.
- Right-click on the added field and open Properties.
- In Properties, go to the Attribute property in the Data section. Set the attribute value to any value.
- Save and build the solution.
Create a KPI
To create a KPI, follow these steps:
- Right-click the project and select Add > New Item.
- Under Dynamics 365 items select Analytics > Key Performance Indicator.
- Select Add.
- Set the Measurement property to select the measurement for the KPI in the Properties section.
- Select the Value node of the KPI.
- Set the measurement group on the Measure group property.
- Set the measure on the Measure property.
- Select the Goal node of the KPI.
- Set the Goal Type property to BasedOnMeasure.
- Set the measurement group on the Measure group property.
- Set the measure on the Measure property.
- Select Save and Build.
Add the KPI to a workspace
To add the KPI to a workspace, follow these steps:
- Right-click the project and select Add > New item.
- Select User Interface > Tile.
- Select Add.
- Drag and drop the KPI from Solution explorer onto the tile in the Tile designer.
- Save.
- Create an extension of an existing workspace form or create a new workspace form. Ensure the solution model matches the workspace form model, otherwise you cannot make an extension of that form. Create an extension by right-clicking on the form in the AOT.
- In the Designer, add a Tile button. You may need to change the pattern of the form to custom to do this.
- Set the Tile property drop-down option to the KPI tile that you created.
- Save all and build the solution.
- The workspace will show the new KPI that was created. Select the KPI tile to view details.
