Consulting, Microsoft Dynamics AX
Walkthrough: Sarbanes-Oxley and the Security Development Tool in Dynamics AX, little known Dynamics AX Powershell Trick, Import a model
 13642
13642 
Sep
First let me say that the Dynamics AX SharePoint series is not dead. At the moment, about 60 hours of my week is going towards my new project, which hasn’t reached the SharePoint-Dynamics AX integration phase yet. That being said, part of being a good consultant is to make sure that people can repeat what you do after you leave. For example, as of now, I’m playing the role of techno-functional consultant – developing reports, customizing forms, creating security rules, and configuring the ledger are all day to day stuff. One of the things that I needed to do recently was satisfy a Sarbanes-Oxley request in Dynamics AX and document how I did it, so that my client could do this after I left.
This would ordinarily be a nightmare, but I knew a secret. The Security add-on would make it child’s pay for me to produce the information needed by the Sarbanes-Oxley auditors. Thus, I had two challenges.
- I needed to get the information to the auditors (functional)
- I needed to enable Dynamics AX to produce this sort of information (technical)
This post details how to get Dynamics AX ready (from a technical standpoint to handle this sort of thing). Sadly, I may not have time for quite awhile to show how I was able to use the tool that was installed to produce what an auditor needed to make sure that my client was compliant. But I can at least get those of you facing this dilemma started by showing you how to get this great tool up and running. And for our experienced or beginning technical people, let me show you a trick that isn’t in the documentation when it comes to Powershell – something that will make your life way easier.
| OBJECTIVES FROM THIS TUTORIAL |
| Understand how to install the Security Development Tool to enable must have security analysis in Dynamics AX |
| Understand how to use the Dynamics AX Powershell IDE trick to simplify your life with AX Powershell |
| Watch little pitfalls along the way and notice where my steps differ in certain parts from the steps in the official documentation |
| Have the free Security Development tool up and running. See other tutorials for how to use it unless I get time to come back and make a second post for this series. |
In this tutorial, we’ll detail how to install the Security Add-in tool using the Dynamics AX 2012r2 Sample image available on PartnerSource (August update with windows server 2012).
-
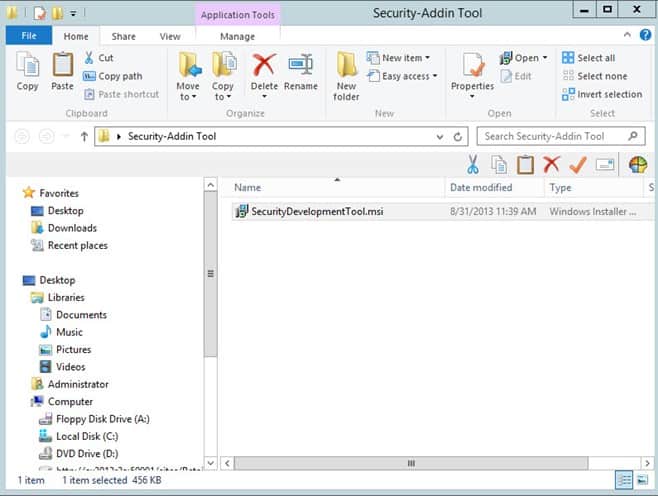
Download the Security Development tool and put in on your desktop. Then, double click the SecurityDevelopmentTool.msi file to run it. Here I created a folder on the Desktop called Security-AddinTool and placed the file in there.
-
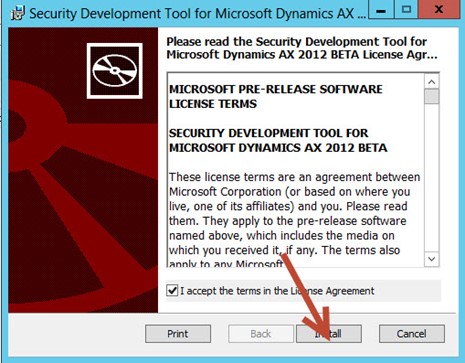
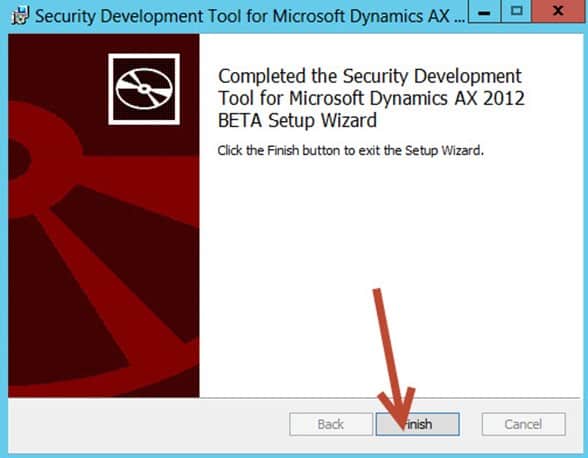
Accept the agreement and follow the wizard until the setup is finished. I’ve attached screenshots of the beginning and ending pictures for the wizard.
Ending Wizard Picture
-
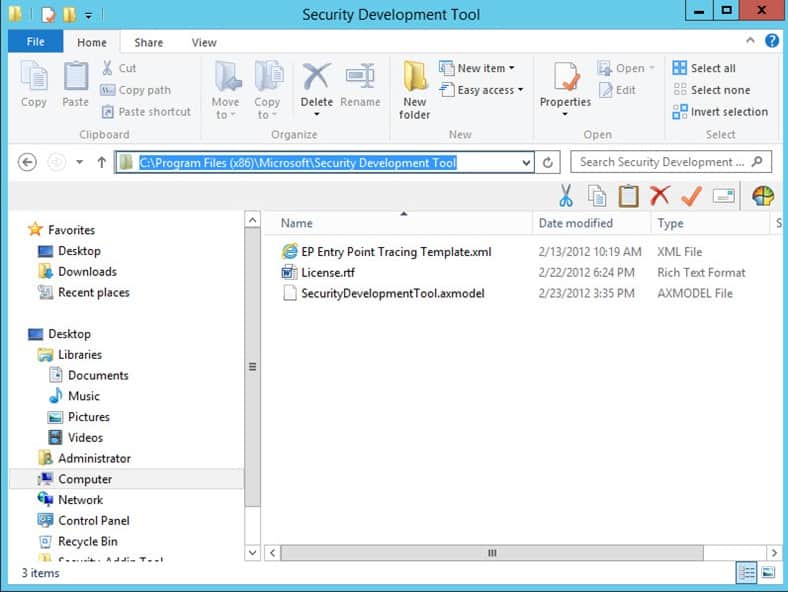
Verify that the files went to C:Program Files (x86)MicrosoftSecurity Development Tool
-
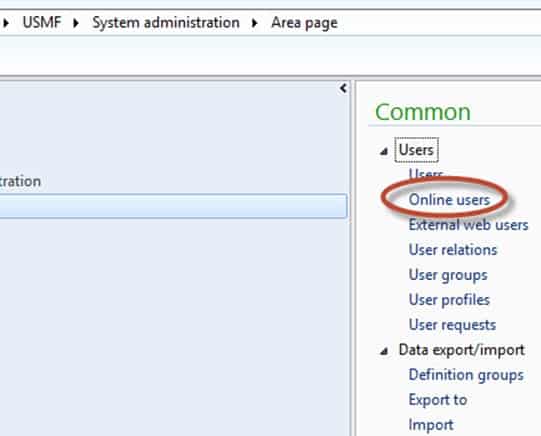
Kick the users of the server the friendly away. In other words, rather than just restart that server, do what is called draining users from the AOS. This is where you don’t let any new users connect to Dynamics AX and give existing users prompts to hurry up and get off the server. That way, you don’t interrupt anything. It’s a good idea to do this before restarting a server. Open up the Dynamics AX client. Go to System Administration à Common à Users à Online users and click on the online users option. This will tell you who is connected to your Dynamics AX installation.
-
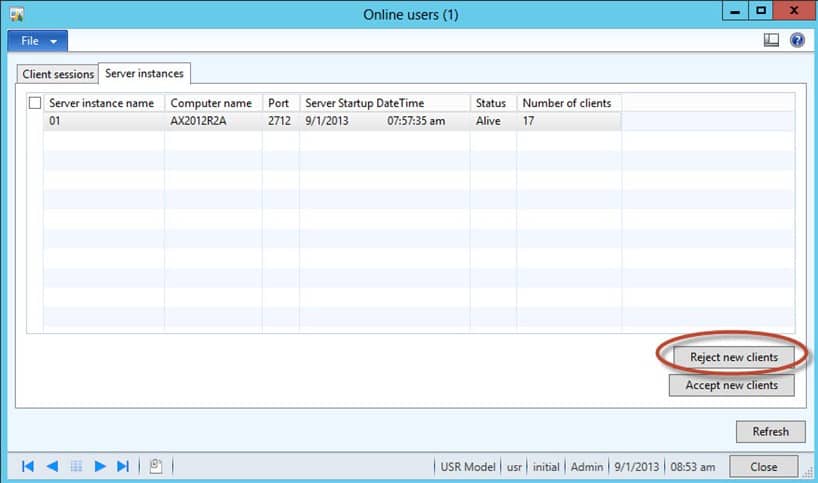
Click the Server Instances Tab, find the instance that you like, and then click Reject new Clients. Click OK on the dialog box. Again, what you’ve just done is not allow any new users to connect to Dynamics AX. Also, existing users will get prompts telling them to hurry up (essentially) and they will automatically be disconnected if their session remains idle for 2 minutes. Now, I usually wait about an hour for people to get their business done from my experience. But you decide how long to wait depending on how your environment. The Administrator is the exception. He or she doesn’t get booted off.
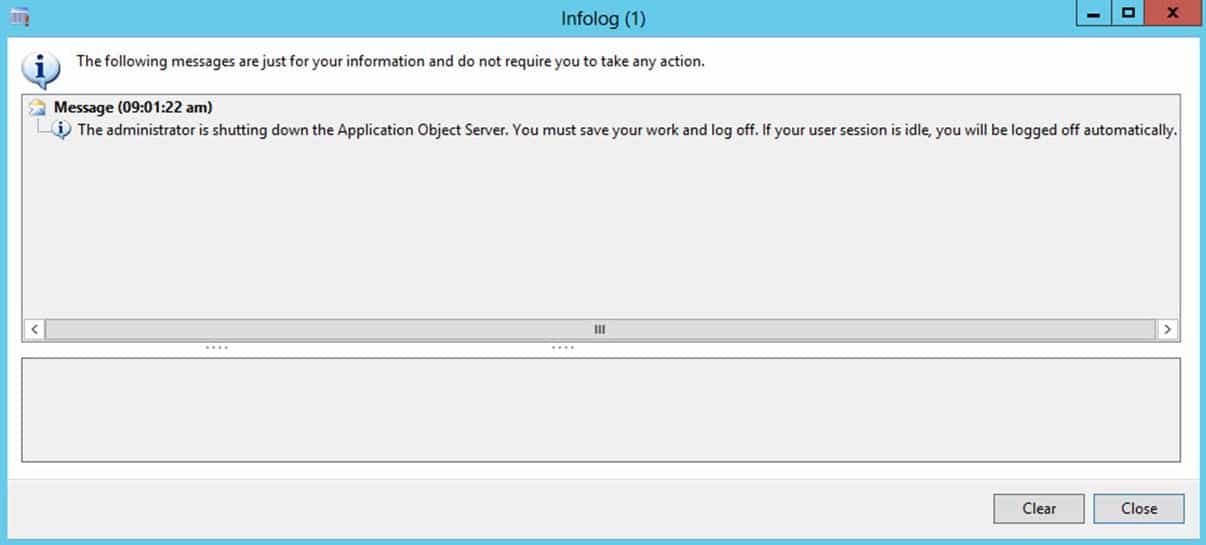
Here is the message that users will see:
-
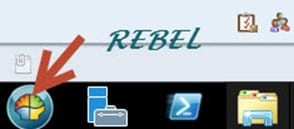
Now, I really tried to use Windows Server 2012 and Windows 8 without a start menu, but I just couldn’t do it when I was actually working. I needed a start menu. So, I downloaded the free Classic Shell Explorer that everyone uses for Windows now. What can I say? There is a rebellious side to my persona. My screenshots will be using the start menu. If you don’t have one, no problem. You can just find the options by clicking around.
-
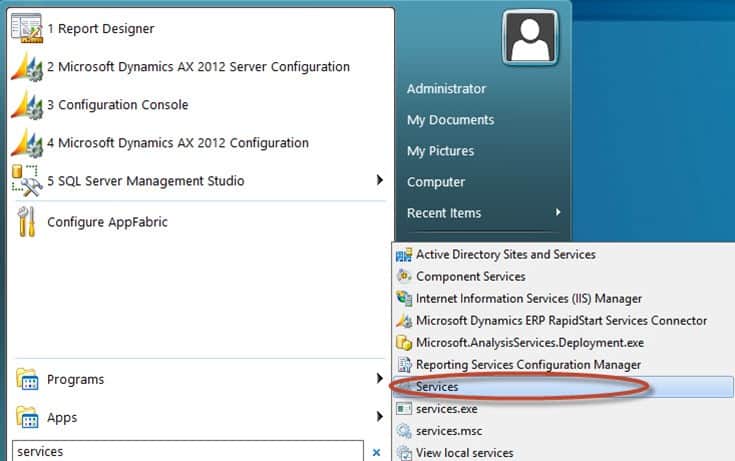
Now, when you have looked in the client connections and see that everything is done, you need to stop the AOS server so that you can perform maintenance on it. I clicked on my little classic shell Start menu and typed Services. Then, I clicked on the Services option which has a million other ways to get to it. Some people don’t need a Start Menu option at all, for example. Some are using Windows Server 2008r2, and others are using the new update to Windows Server. Don’t care.. just get to the services section some sort of way..
-
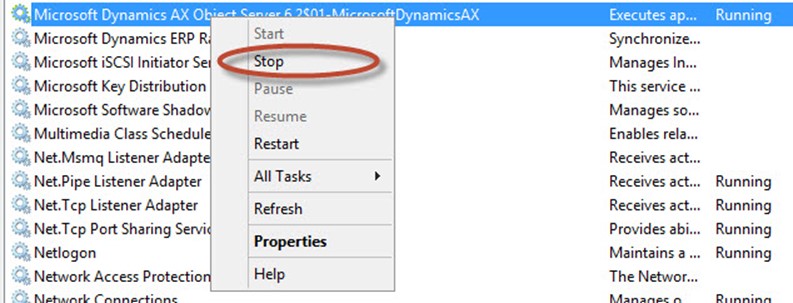
Find the Microsoft Dynamics AX Object Server… and stop the one that refers to your instance of the Dynamics AX Object Server.
-
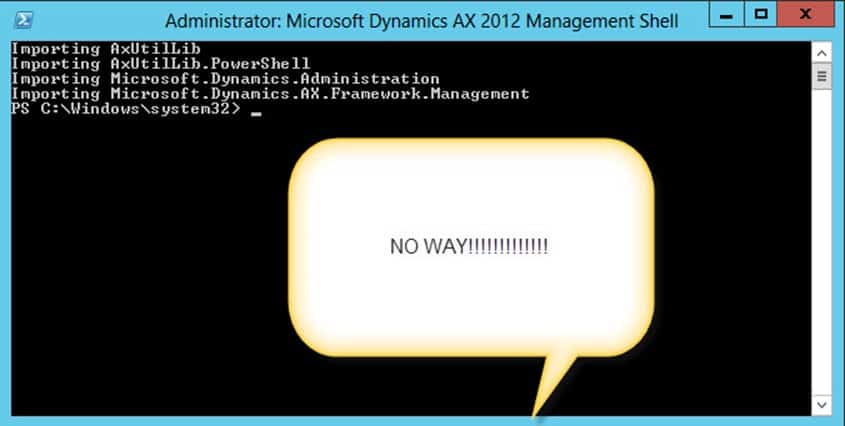
Now, we need to import some new code in our Dynamics AX installation. We do that by importing model data. Go to Start à All Programs à Administrative tools. Then, right- click on Microsoft Dynamics AX Shell and run it as an administrator. Note: I’ve never seen anywhere detailing to run Management Shell as an administrator but I’ve noticed way less errors when doing so.
And here is the ugly 70’s style like command prompt that you get which makes it extremely difficult to type multiple lines of text and find errors.
-
Now, the command prompt isn’t the most friendly way to add PowerShell for Dynamics AX. It has no intellisense, aka error checking capability, and can be a real drag to type in when you have all of those multiple scripts. What I am about to show you is not supported by any Microsoft Documentation. It strictly comes from my experience with saving time. You don’t have to use this method to ease powershell development within Microsoft Dynamics AX. You can use the console if you like. That being said, from my experience, using the free built-in Windows Powershell IDE is a lot better. Here I am using the Windows Powershell IDE from Windows Server 2012. But there is a free one for Windows Server 2008r2 also. You just need to have you administrator enable it if it is disabled by adding a role (see google for many tutorials).
This AX Powershell/Windows IDE method is really cool because you can type many different lines, you get a nice friendly interface, and it is much easier to debug powershell problems when you get them.
-
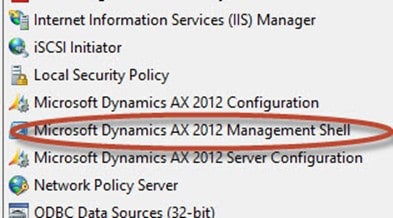
Click Start à Programs à Administrative Tools à Right-click Microsoft Dynamics AX Management Shell
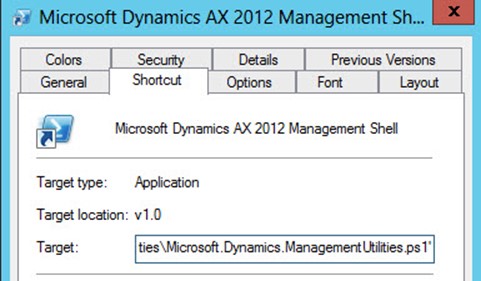
If you go further in that location, you’ll see that management shell is really just windows powershell loading a ps1 file that brings in all the modules. Cooooool!!!!!
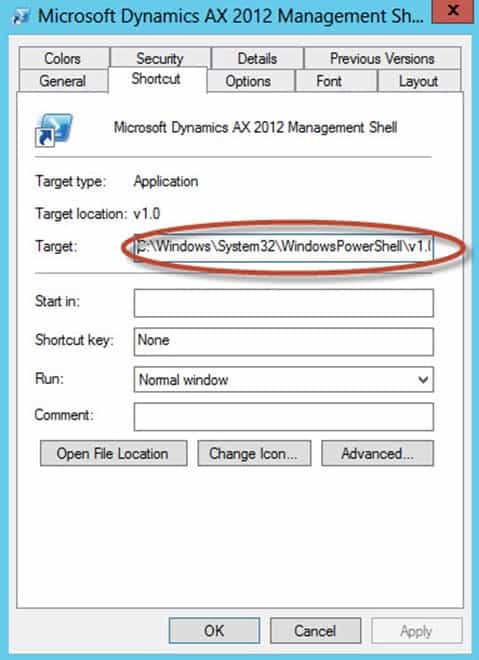
And here is the location of the file
-
Now, there are two things that you needed to get from above. The location of the file and the execution policy. In other words, you’ll need this command:

-
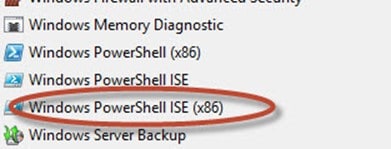
Now, go to Start à Programs à Administrative Tools à Windows Powershell ISE (x86). Be sure to right-click on it and Run as an Administrator.This is what will make several, several activities within Dynamics AX much easier for you.
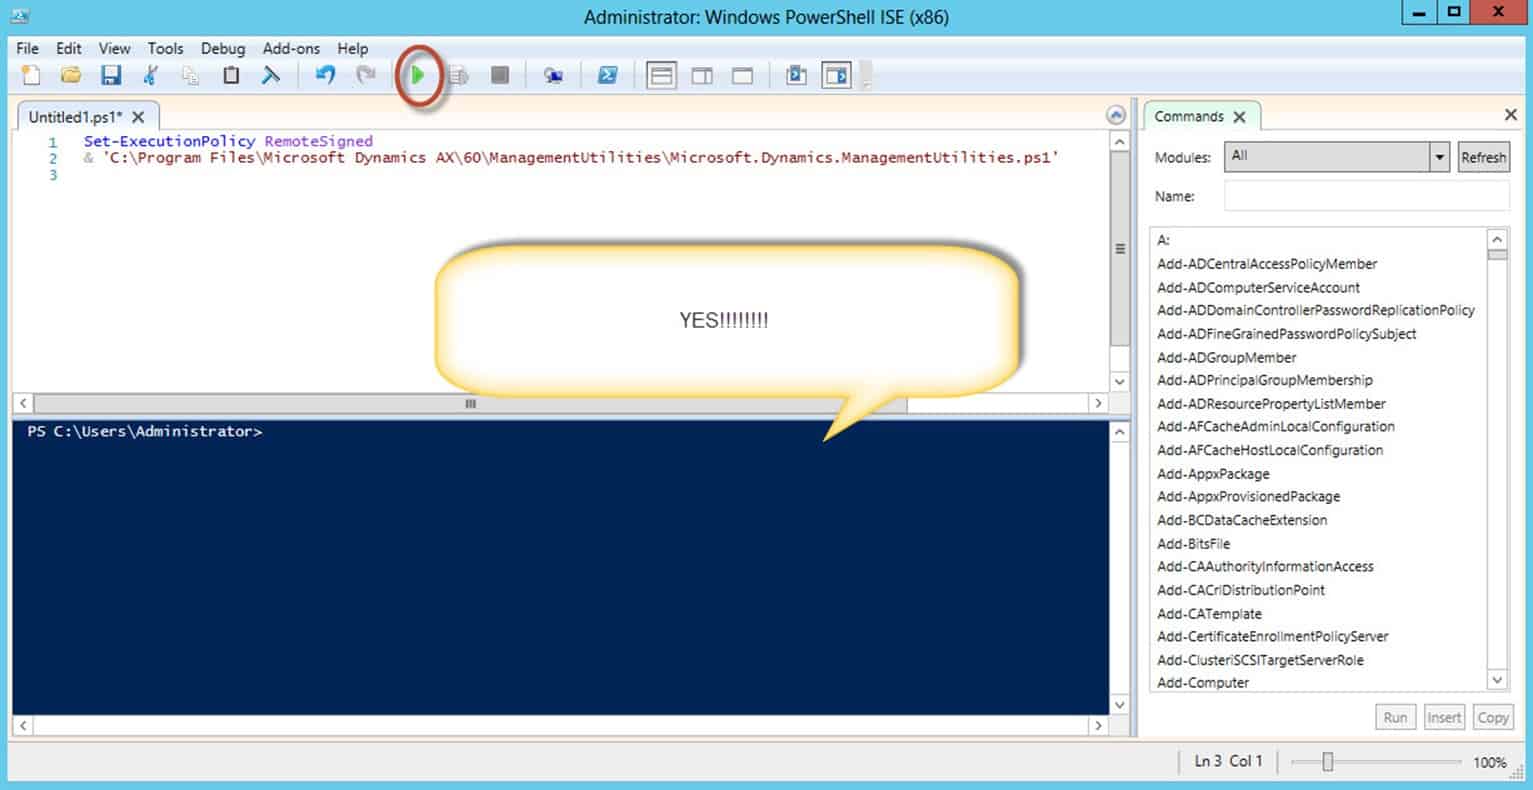
-
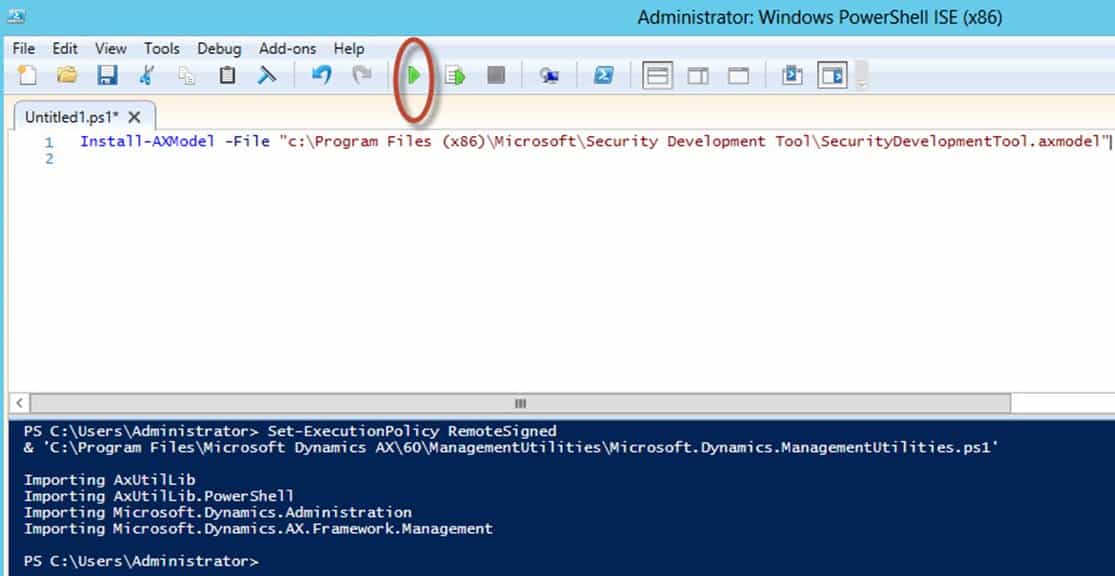
Yay, lots of goodies… Intellisense.. Everything!!! And it didn’t cost a dime extra. Copy and paste those commands in the top Window and run them by clicking the green arrow. You now have a Dynamics AX
friendly Windows Powershell IDE which will make life much easier where development is concerned. Click ‘Yes’ on the little warning about changing the Execution Policy. That says that you are authorizing
Powershell to run scripts created on the local computer or that are signed on the internet – aka the default of AX management shell.
-
-
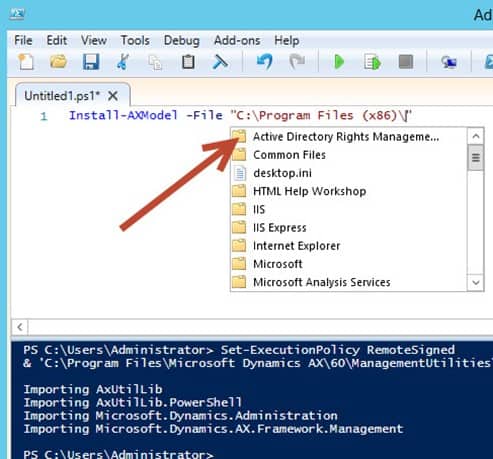
After the script, has run, which you will know by looking at the bottom blue portion of the ide and seeing the 3 importing lines, delete the first two lines that were used to install Dynamics AX powershell in the
Windows Server 2012 IDE. Start typing the command. In the first picture, I show it partially completed, so that you can see cool intellisense coming to your rescue. In the second picture, I show the full command.
Click the Green arrow when you are all done. You want to type this command: Install–AXModel –File “c:Program Files (x86)MicrosoftSecurity Development ToolSecurityDevelopmentTool.axmodel”
And completed(with intellisense gently guiding you towards the end):
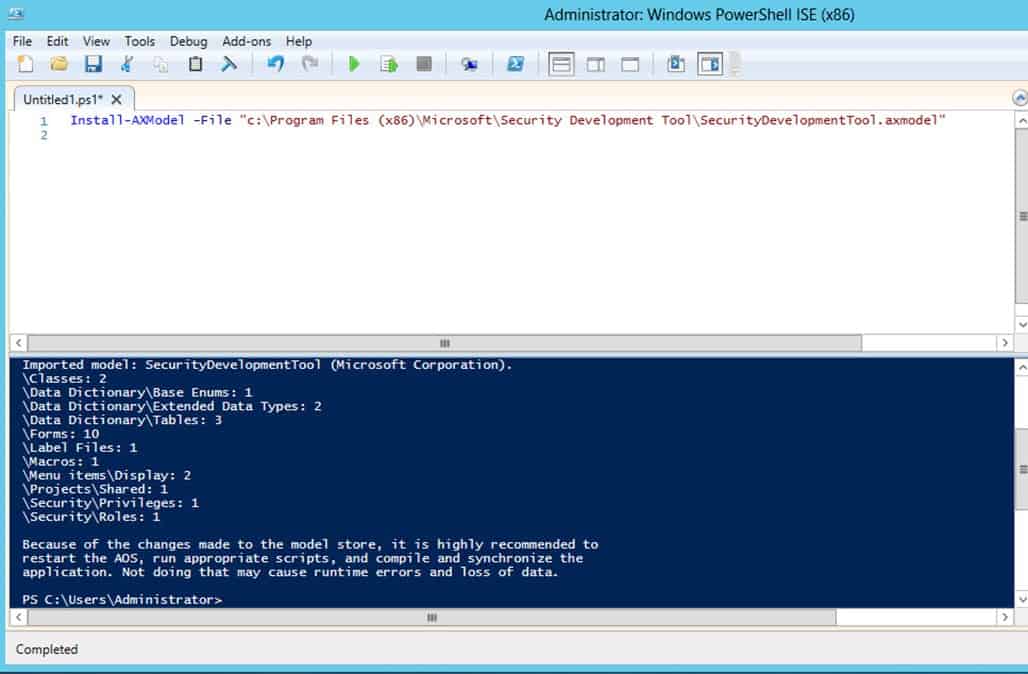
Notice even more goodies as it runs. You can now use the Debug option to figure out where the error is being generated, or pause the script while it is loading.
-
When everything is finished, you’ll get a message stating that everything is done and that you will need to restart the AOS. Congrats, you have just imported a model in Dynamics AX and used Dynamics AX Powershell.
Now, the world is open to you (it really is)!!!
-
Go back to the Services Console, like we did earlier. And Start the Microsoft Dynamics Object Server.. that we stopped earlier.

-
Now, open the Dynamics AX client(the thing where you do all of your Dynamics AX business that was opened earlier), and you get a message that pops up instantly. Choose the option
that says Compile and Synchronize(Advanced). Then, click OK. Wait for the compilation to finish before going further.

-
Warning: the sample virtual machine runs very slow on USB 3.0. It took 5 hours to do a full recompile.. Yuuuck.. Observe this message to make sure that your compile is done:

-
Now, open up the Development workspace by expanding the little window option or hitting the hotkey in the picture.

-
Now, within the AOT, expand Classes. Find the SysSecEntryPointManagerSetup class. Right click on it and choose View Code.

-
Now, click the little green arrow to run the code. You’ll receive the second message letting you know that everything was successful at the end. Click the close button on the infolog when you are done. You can close out of the development windows after that by hitting the close buttons or the little “x” on the top right.


-
You know that you are working when you see this gorgeous option in System Administration à Setup

If you want to know more, just google the Dynamics AX Security Development tool to see all the fun things that you can do with this wonderful tool. There are some excellent blog posts that I’ve seen detailing the many ease of use features for this must have component of a Dynamics AX implementation. It was fun.. See ya!
