Consulting, Dynamics Operations Architecture, Featured
On-Premise Tutorial Part 3: Getting the SQL Going for Dynamics Operations(AX 7) on Premise
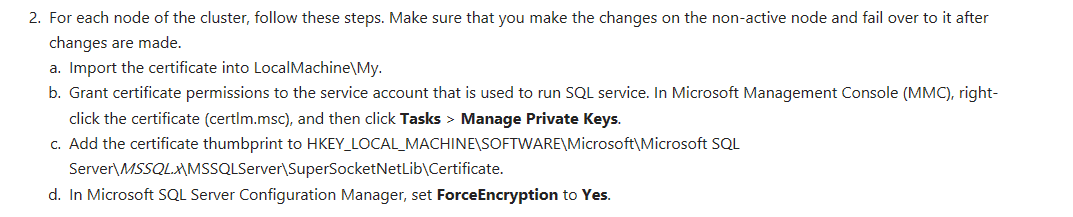
 8370
8370 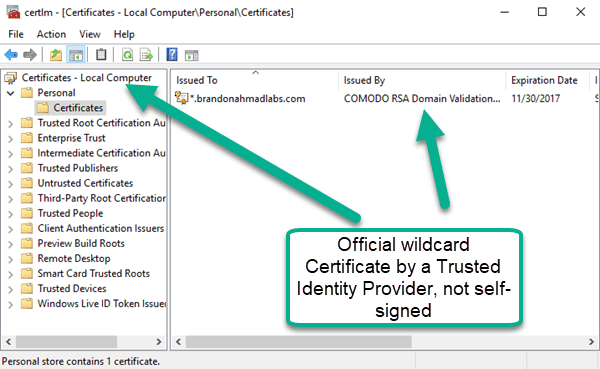
Jul
There is an understanding of a product that you get by doing an install piece by piece and experiencing how the components fit together. You get a strong feel of where Dynamics will work and what it will be good at and where it will have issues. You also begin to see ways how to optimize it for competitive advantage and improve on it, so that your clients get something extra. The SQL Server and the AppFabric/Orchestrator setups are the two trickiest parts of this on-premise installation, so I’ve decided to detail the setup of how to get those working, starting with the SQL server Setup first.
I started this tutorial the day after on-premise came out, but I was gone all last week for work traveling, so I’m just now resuming.
Prerequisites: you’ve read the other 2 posts on this blog and have a machine that can handle the setup (either that you’ve built real cheaply( https://www.techspot.com/review/1218-affordable-40-thread-xeon-monster-pc/) or you are utilizing a cloud provider(see last post on prices) or using your setup) and you have a lifecycle services project where you can get the goodies. Also, my specs don’t match Microsoft’s. For example, I turned my Always on instance down to just 2 processors and 8gbs of ram because it is only me using it. I’ve made other changes also which will be detailed.
You may need these 2 helpful links to get through this Post:
- https://blogs.technet.microsoft.com/canitpro/2013/08/19/step-by-step-creating-a-sql-server-2012-alwayson-availability-group/ — shows you how to setup windows and an always on cluster. Side note, I radically reduced the resources for my always on machine since this was not production and just my own personal machine. Yes, I will buff things up when performance testing but that is not what I’m doing here.
- https://docs.microsoft.com/en-us/dynamics365/unified-operations/dev-itpro/deployment/setup-deploy-on-premises-environments#setup – The Dynamics AX official instructions for setting up the environment
- Lifecycle Services to get the goodies
At this point, I’m going to make the assumption that you’ve installed two VM’s but no certificates, no ssl, and no Always On.
1st, Access the goodies and install the databases on your SQL Server :
-
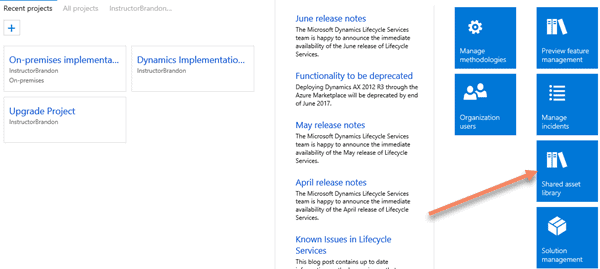
In Lifecycle Services, click on the Shared Asset Library (that screen before you click on one of your projects). The Shared Asset Library is the current place that Microsoft likes to stick a lot of the frequently requested updates and features, so you should check there when you get a chance.
-
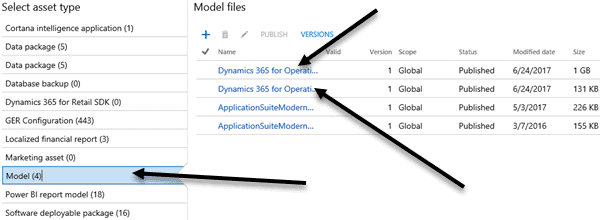
Now, once you are in the shared asset library for lifecycle services, go to the “Models” tab (note, Microsoft may move it again in the future but that is where it is at as of July 17th). Download the 2 Dynamics Operations Files. You will need them later.
-
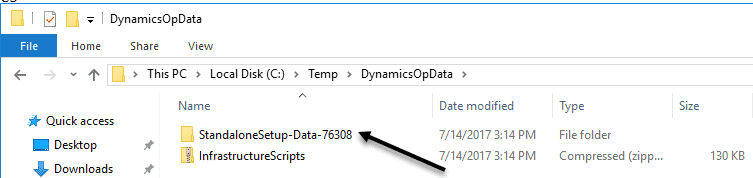
Now, go to the StandaloneSetup-Data and extract it. I show the Infrastructurescripts here as these are numerous powershell scripts that Microsoft made to help you along in the install.
-
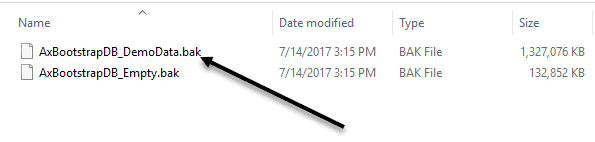
You’ve got a choice. You can have an empty database that will be used for your own data or some demo Right now, I need Demo Data in my AX 7/Dynamics Operations and Finance install. So, I will use the 1 GB file for now.
-
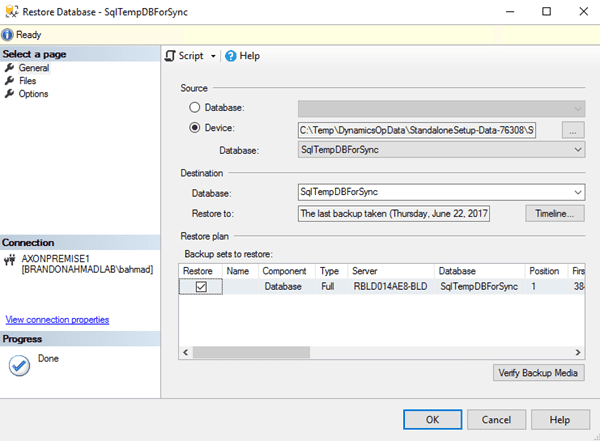
Restore this database to your SQL System.
-
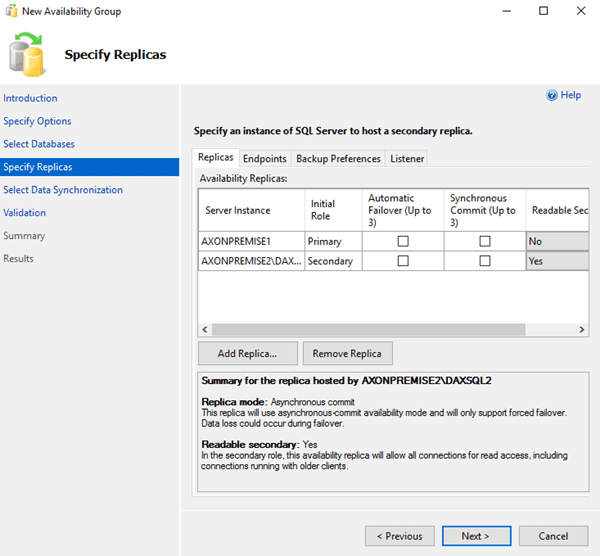
Setup your Always on now that you have the databases installed. Note, in this case, I found the instructions hazy on the preferences for configuring the secondary instance(s) of always on so I left them at defaults. I will change that later if it causes issues. Right now, I want to get this product installed. Remember, if you are hazy on how to do always on, I included an excellent step by step tutorial above.
-
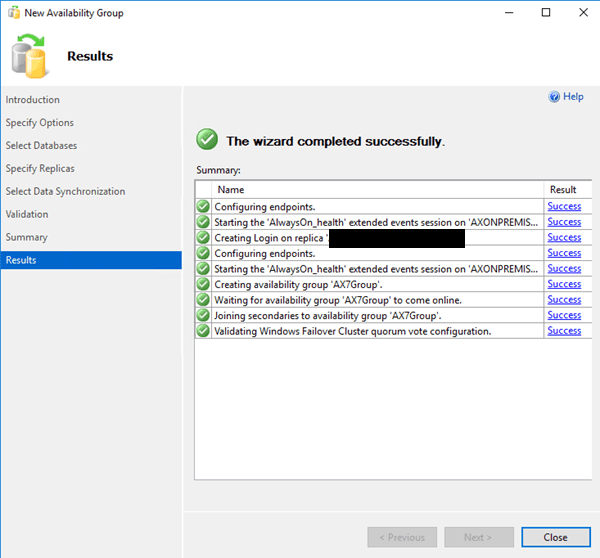
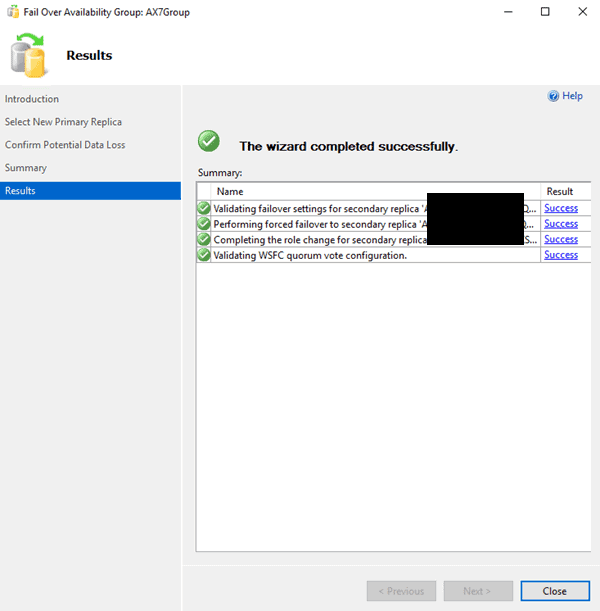
A. following through the wizard, you should get a message for success like I did. Although, as I said, I will probably end up having to reconfigure this. Right now, it’s too early to tell because the AX automated install thing hasn’t run yet.
2. Now, enable encryption and SSL
If you followed my last post, you saw where I was able to avoid the pains of using a self-signed certificate and get a nice officially supported certificate for $59.99. Having a nice wildcard, Trusted Identity Certificate will pay off big time because we can use it across all of our test installations for a given domain.
-
To start with encrypting, open up the MMC console for certificates for the computer account as this will be a local computer. You need to then go under “Personal” à “Certificates” à “All Tasks” à Import and bring in your certificate while providing the private key password that you made when you purchased the certificate. When you are done, your certificate should be in there. Remember, it needs to be the certificate store for the “local computer”, not the user. Do this for each machine.

-
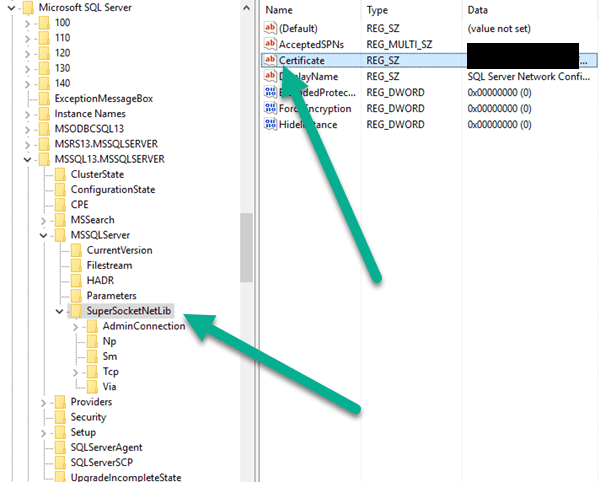
Place the thumbnail of the certificate inside the Registry for each certificate.
We can see from the following link that we have to browse the registry here and insert the certificate. But be careful. To get the thumbprint, follow these instructions.
Note: the thumbprint is very important for our integrations and services also.
And you should place it in somewhere like this when all finished on each SQL machine.
-
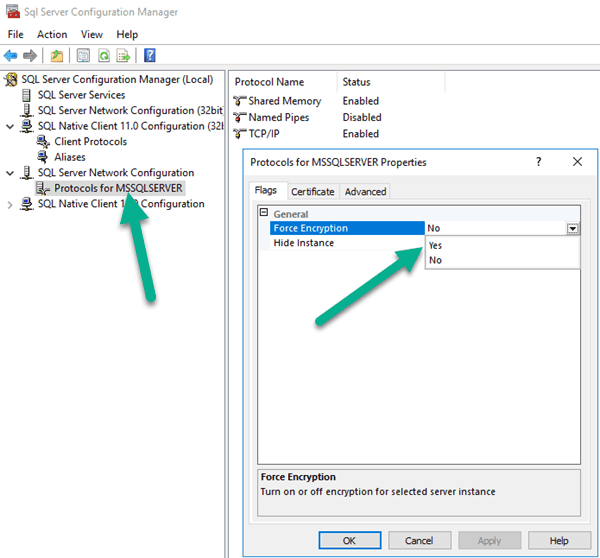
Go to SQL Server Configuration Manager and Set “Force Encryption” to Yes for the initial box where you installed SQL.
-
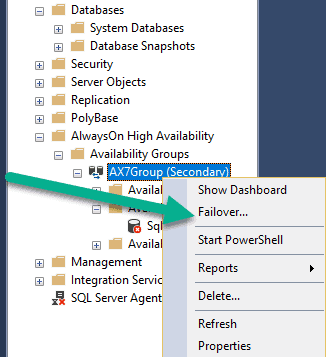
Failover the SQL Box to the other node. Right-click the availability group and click “failover”.
-
Follow the instructions on the wizard that pops up to failover the database. You will get a warning about data loss. This is normal for forced failover. Since this is a beginning installation, just follow the wizard. I would vary my commit modes by the environment and this is just a test environment.
-
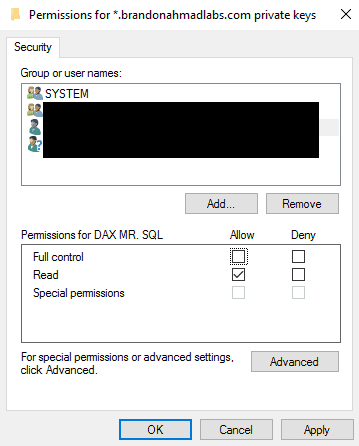
At this point, you need to make sure the sql service account has permissions to use the certificate. Open up the Certificates store. Go to Personal à Certificates à and right click on your certificate choosing the Manage Private keys option.
Add the SQL Server Account there. Uncheck the Full control but leave the read permission there.
-
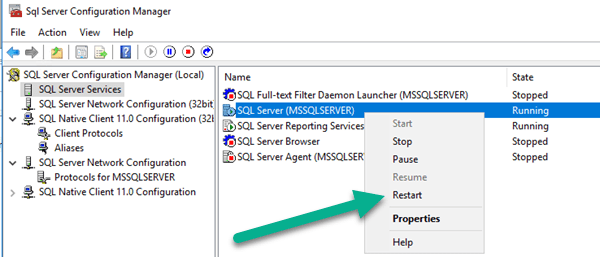
Now, restart the SQL Service on the primary machine.
-
Important, if you used a wildcard like I did, the certificate won’t appear in the Certificates option of SQL Configuration Manager.
Excellent coverage of why is given here: https://thesqldude.com/tag/wildcard/
Long story short. If everything works, you should see a message in the SQL EventLog like the one below:

- Go through the failover wizard again to fail back over to the original server. Then, repeat the same certificate process as above and you are finished.
If you got through this, pat yourself on the back. You would have setup a high availability SQL instance to handle your AX workload. You also did some very nice performance setup in that you can add nodes later for read only performance. You also learned something very essential, which is how to work with certificates. Whether someone is in the cloud or on-premise, they have to know how to work with certificates. For example, many services need certificate hashes to work correctly with mobile devices. From my setup, we differed from Microsoft and I showed you how to get your wildcard certificates working for non-prod environments so you can save money without sacrificing your access to trying out applications and devices. We also got SQL encryption going and you learned where to go for accessing a Dynamics On-premise starting database (either blank or with demo data). This will become key when we start to get our Analytics going. Yes, we could have scripted all this out and I’ll do that in the future, but there is something inherently beneficial about going through at least one manual install. Just from seeing the SQL components, one begins to understand the cloud a lot better and how they can do things like radically increase performance in the cloud by hitting read-only replicas or maybe integrating on-premise data with the cloud by utilizing certificates.
In the next post, we will tackle the Operations/App Fabric install for Dynamics AX7/Operations. Get ready for some more special tricks and workarounds. See you soon.
